

Before you begin
Prepare a publicly reachable endpoint that:- Accepts
POSTrequests - Returns a successful
2xxresponse - Can safely process duplicate deliveries
- Does not perform long-running work before responding
Create the webhook
1
Open Developer Tools
In the Amplify dashboard, open Settings, select Developer Tools, and choose the Webhooks tab.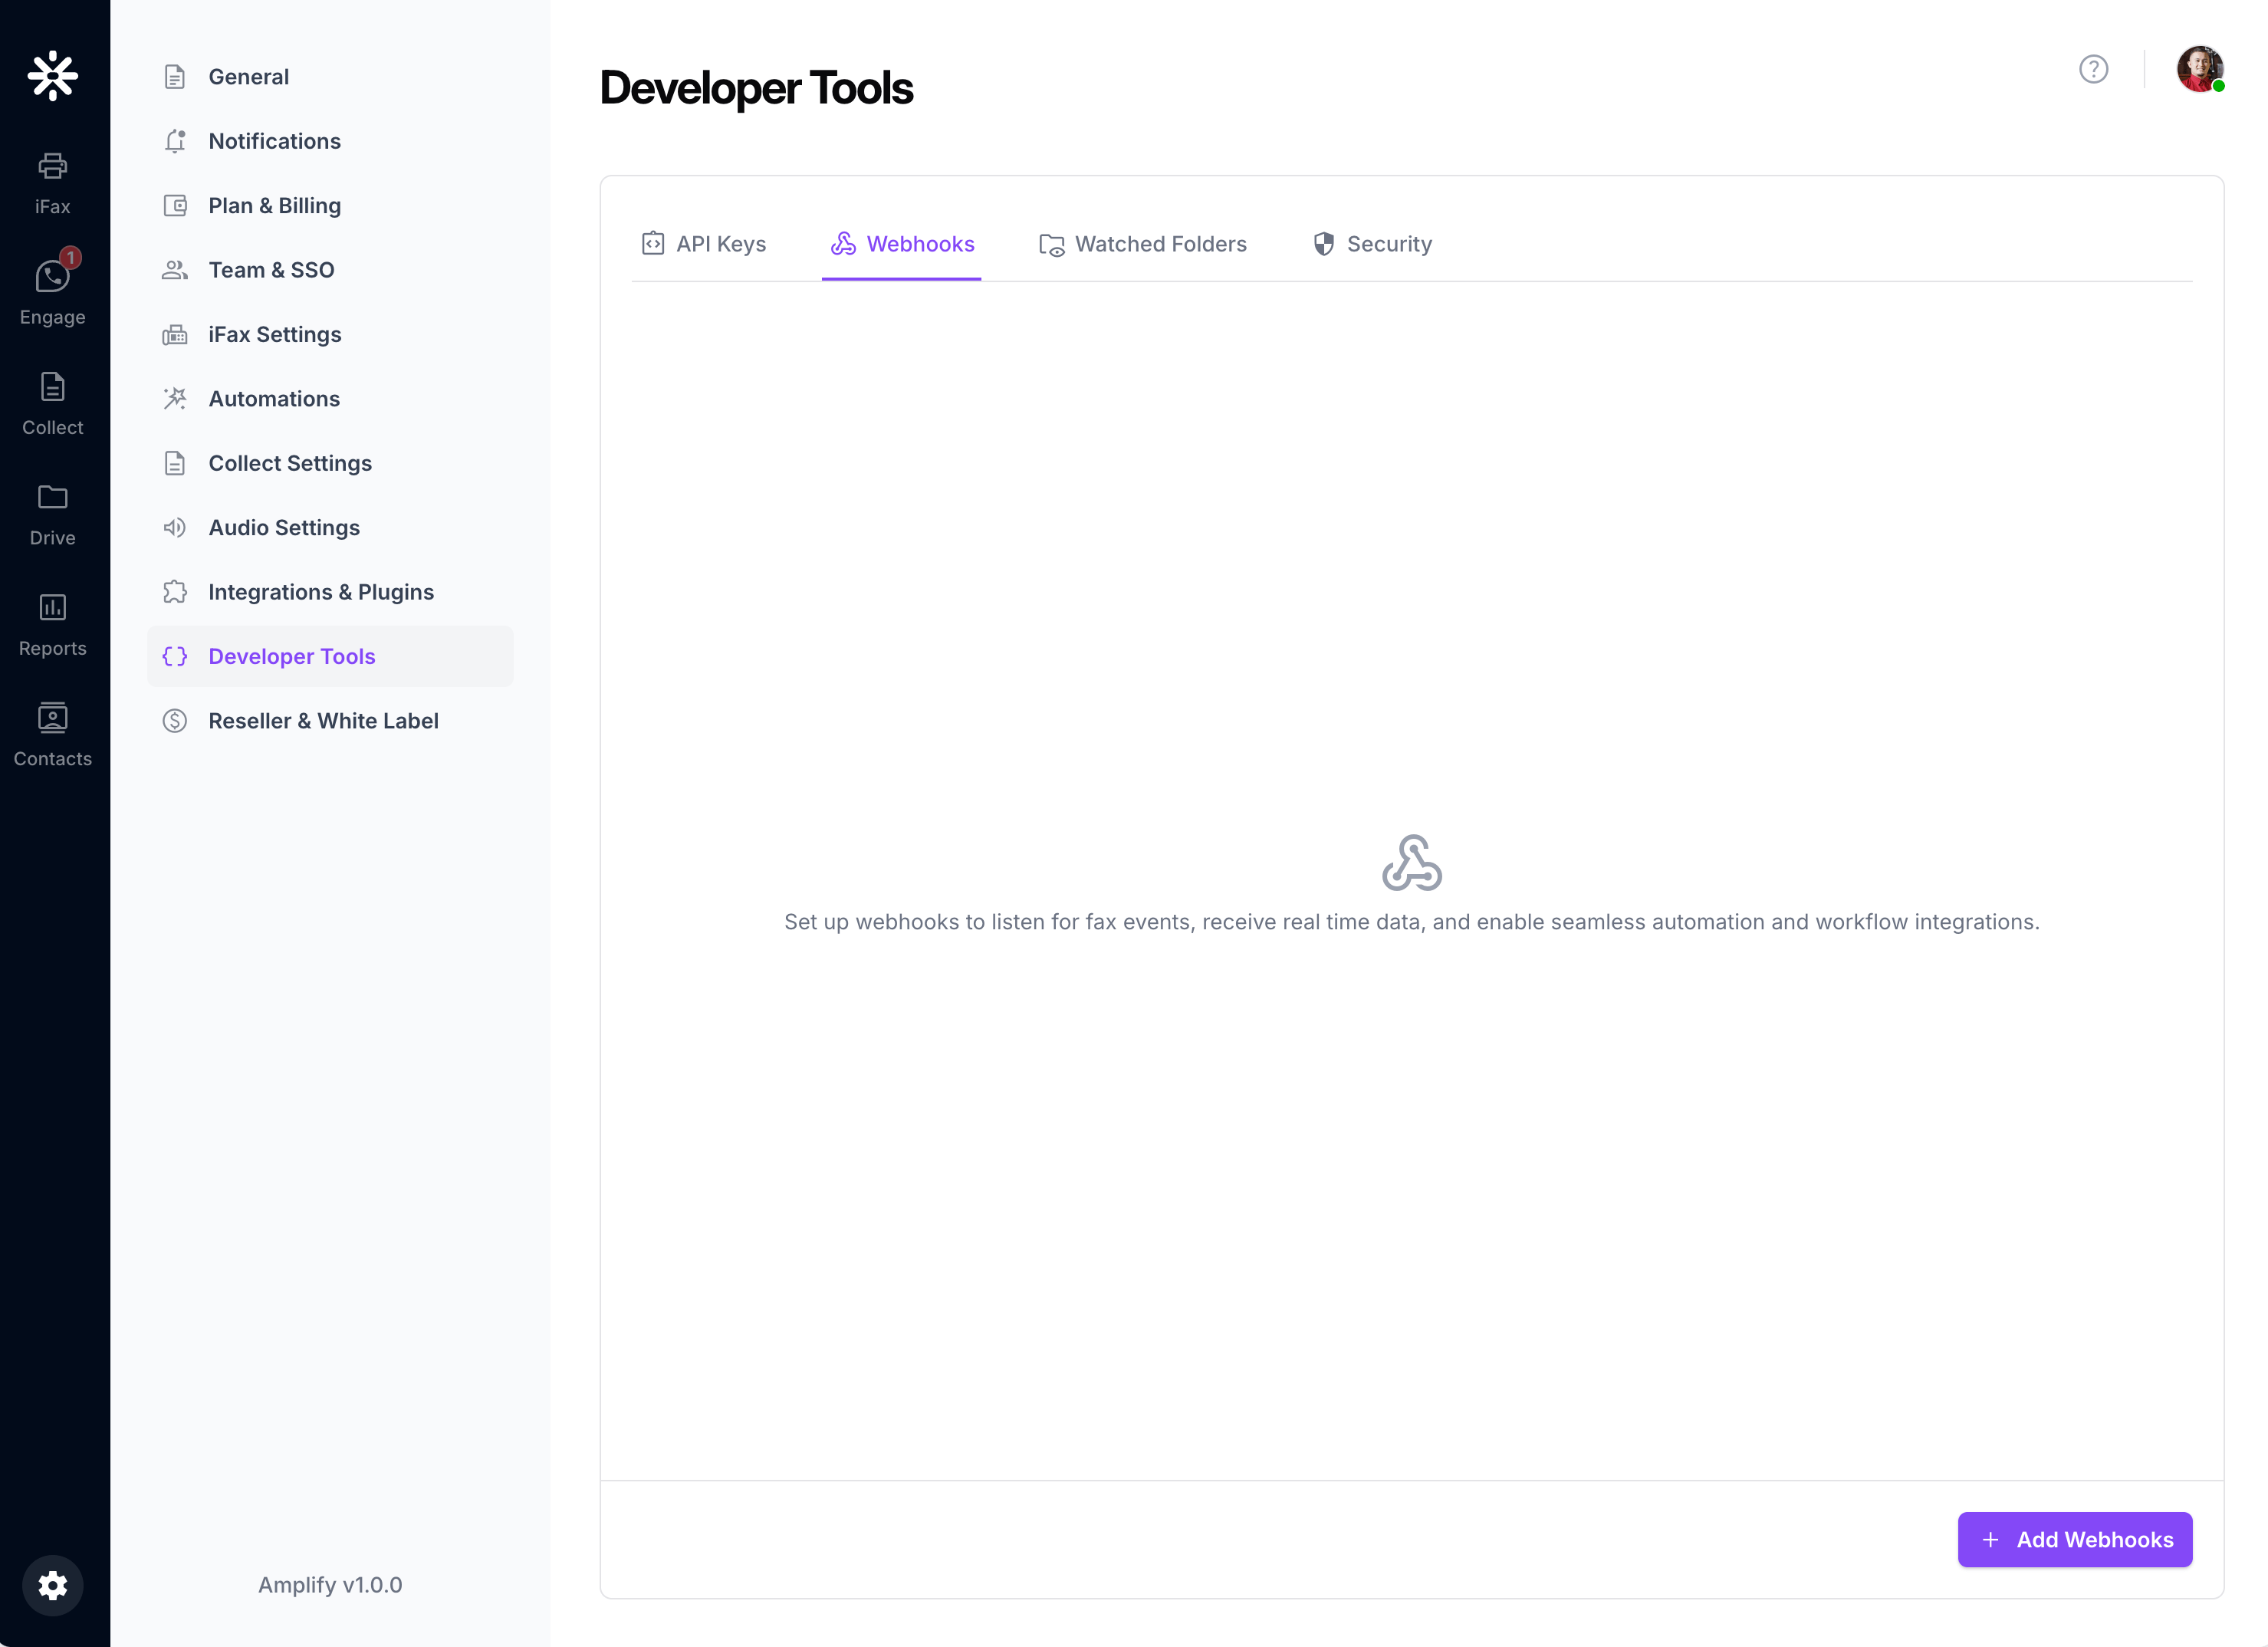
2
Start a new webhook
Click Add Webhooks. The Add Webhook form opens.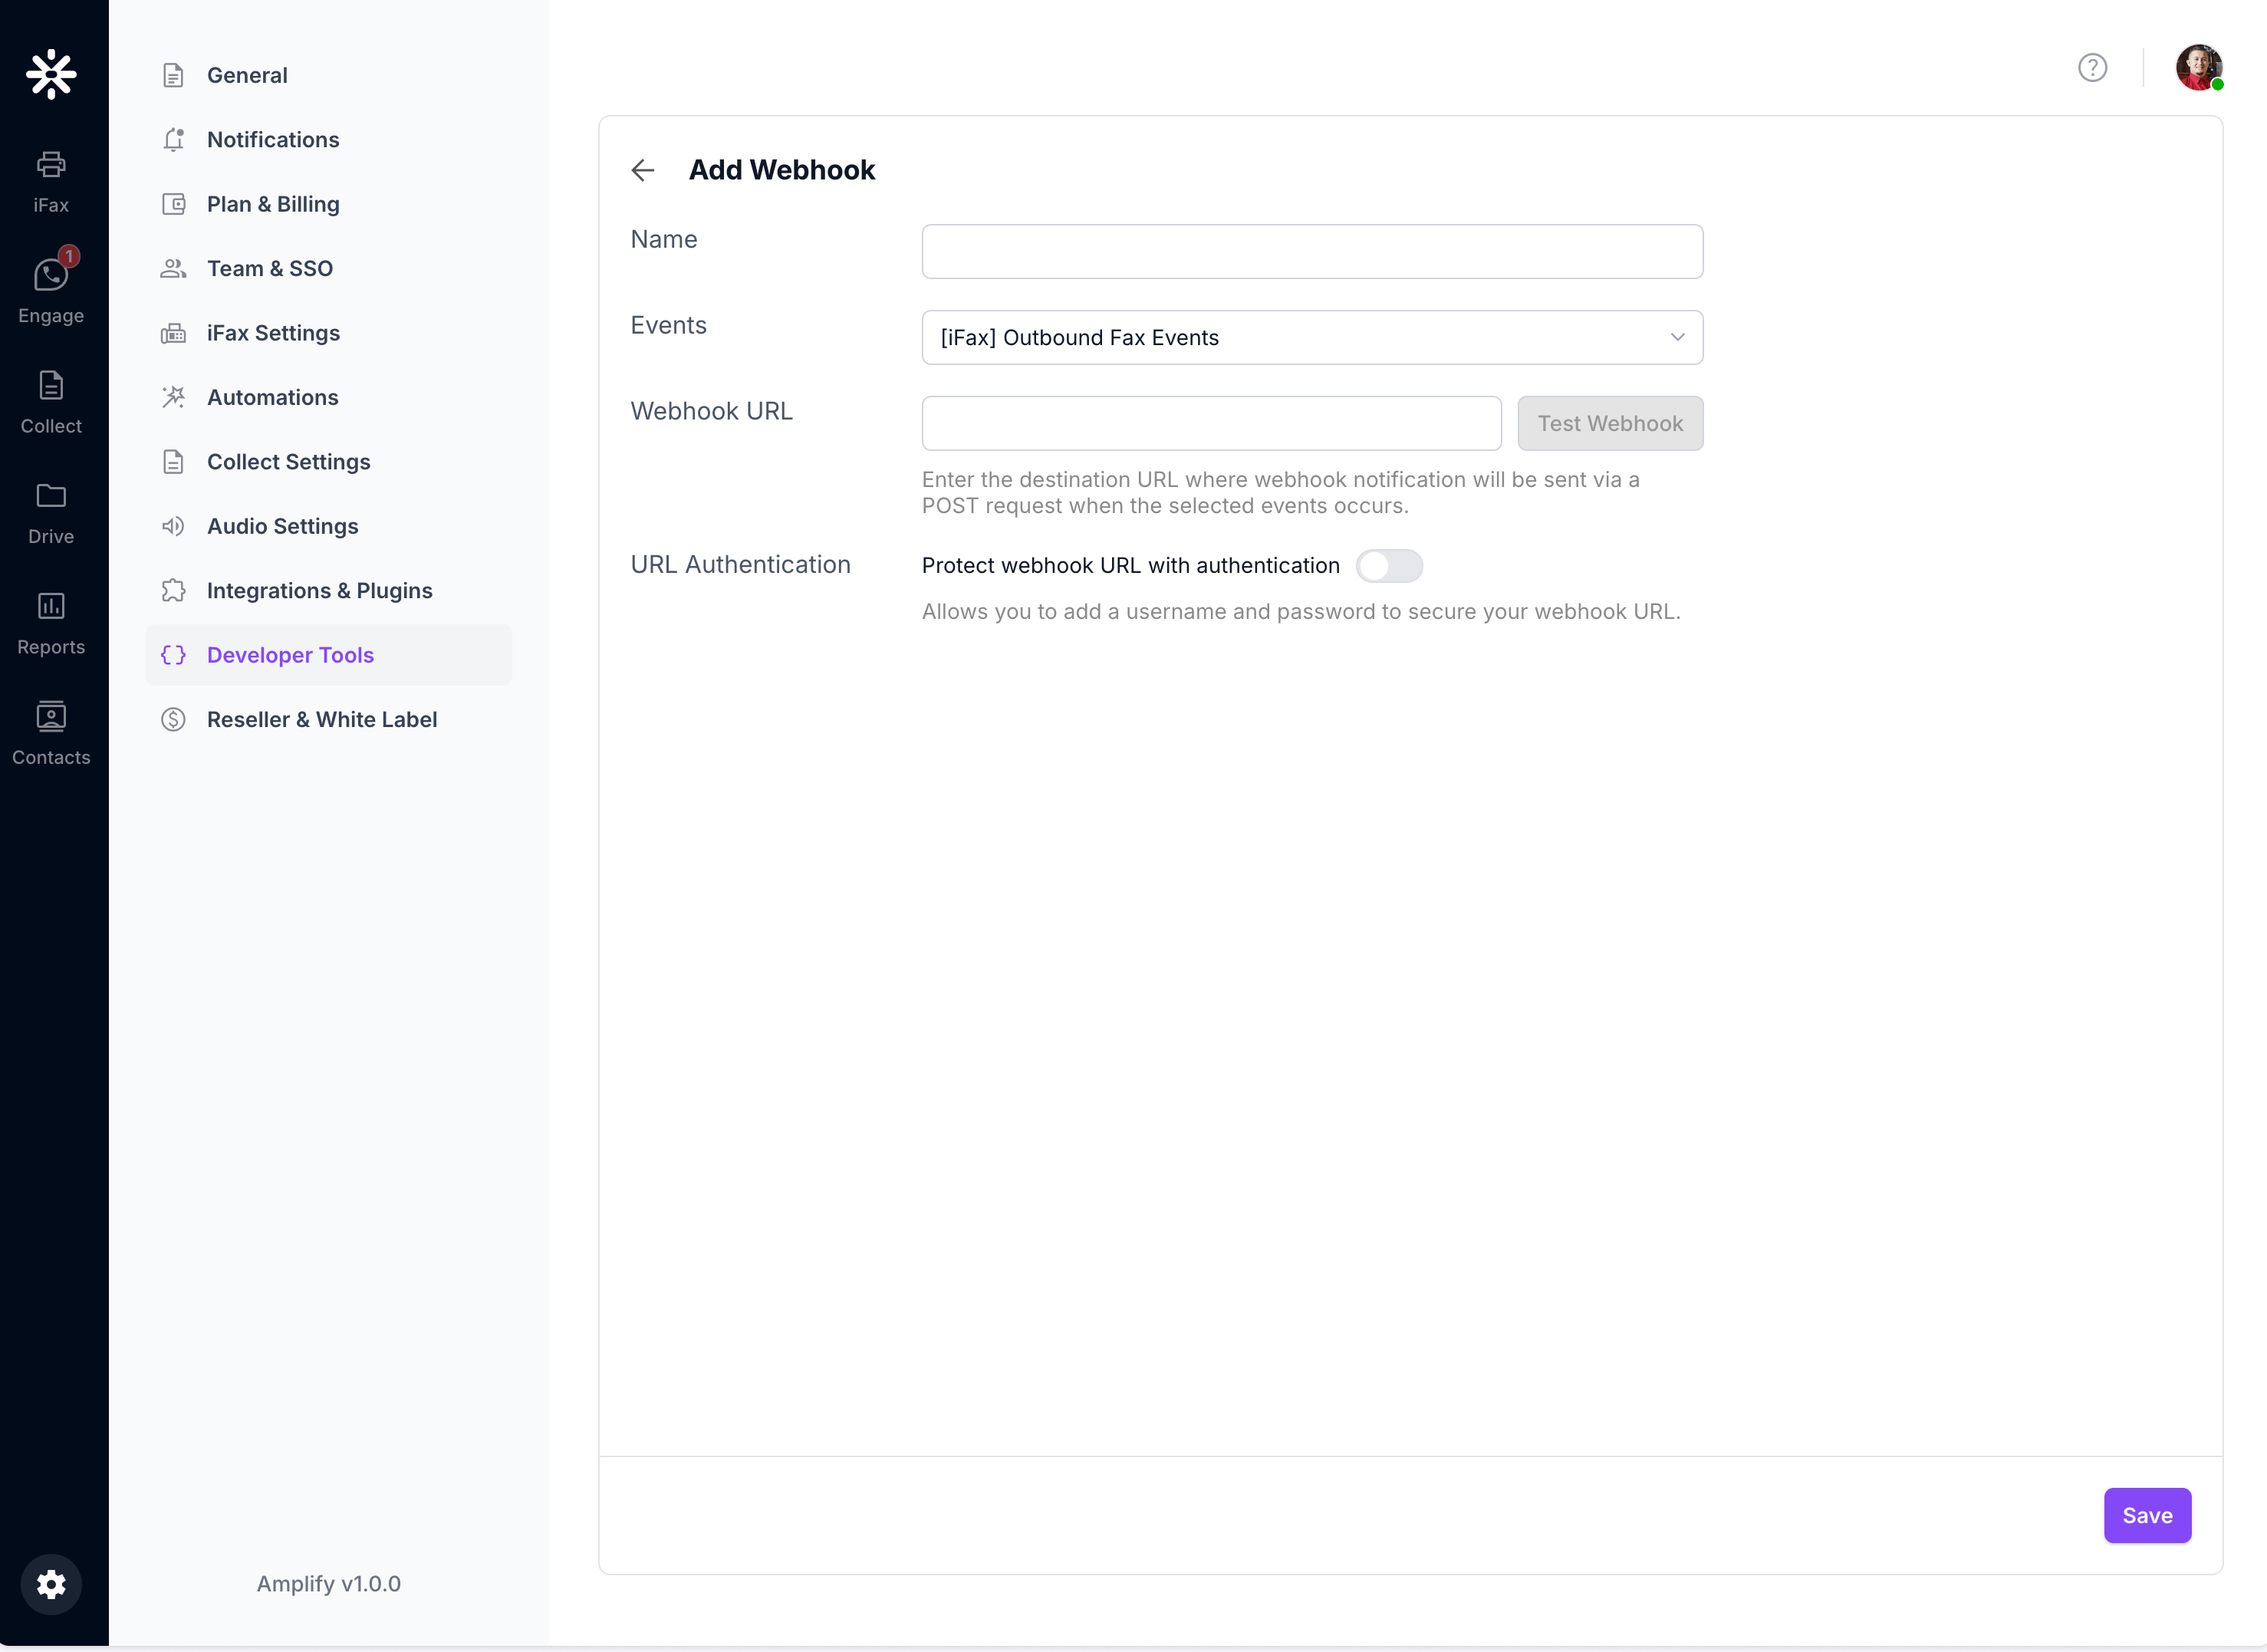
3
Enter a name
Enter a recognizable name that describes the destination or workflow, such as
Outbound Fax.4
Select an event
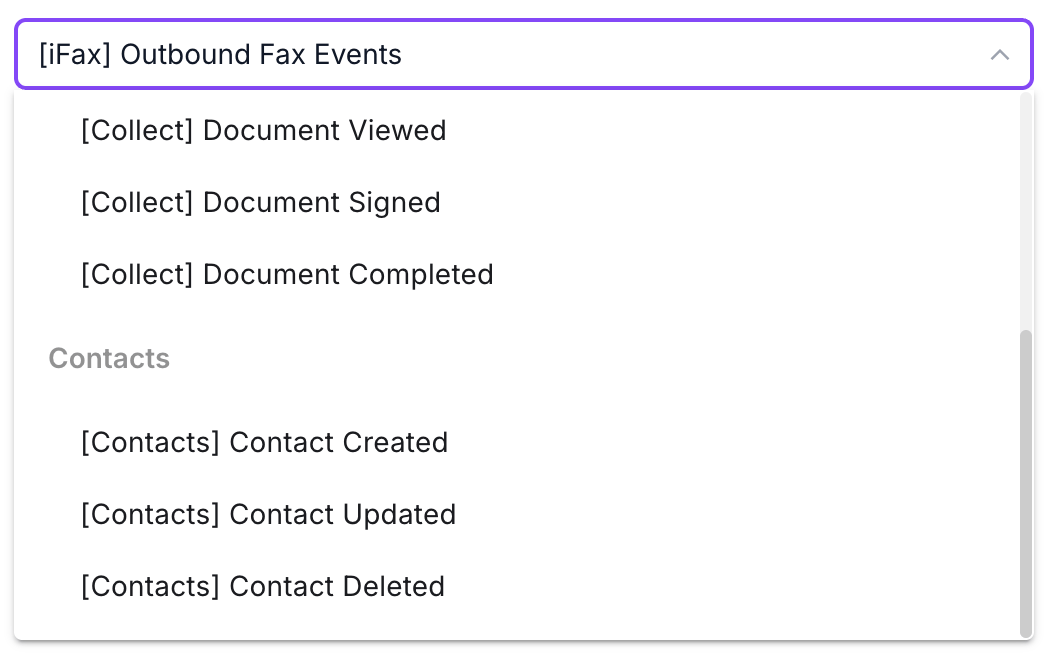
Open Events and select the event category that Amplify should send to this webhook.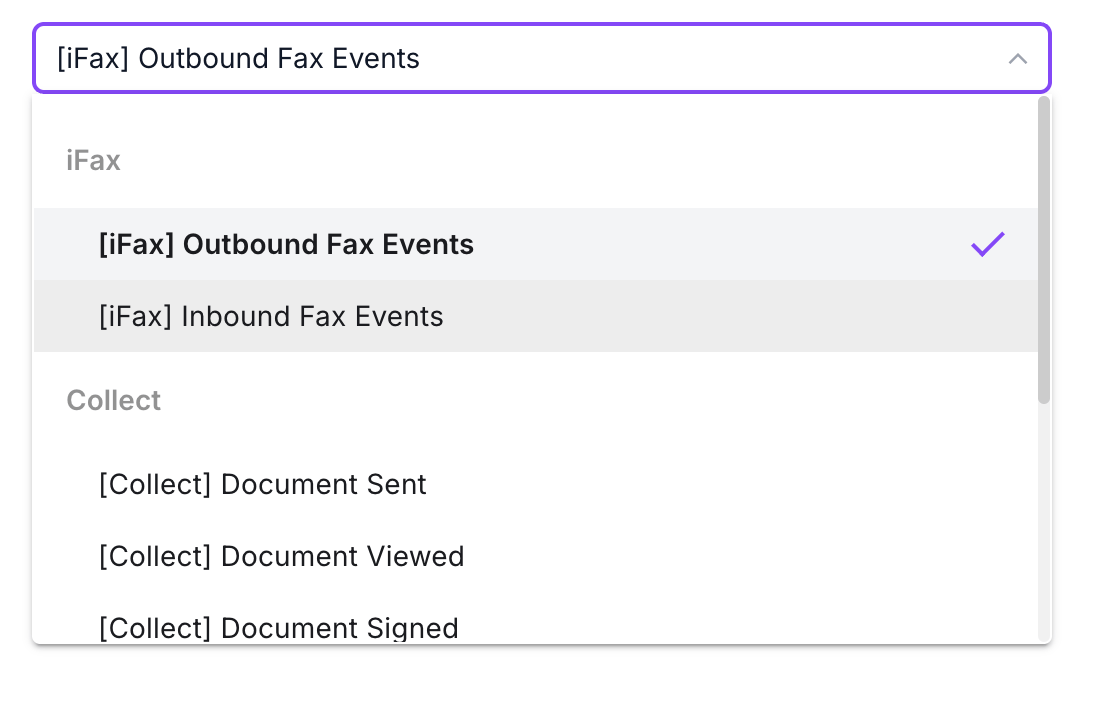
5
Enter the destination URL
Enter the destination in Webhook URL. Amplify sends an HTTP
POST request to this URL when the selected event occurs.6
Configure URL authentication
This step is optional. Turn on Protect webhook URL with authentication and enter the Username and Password expected by your endpoint.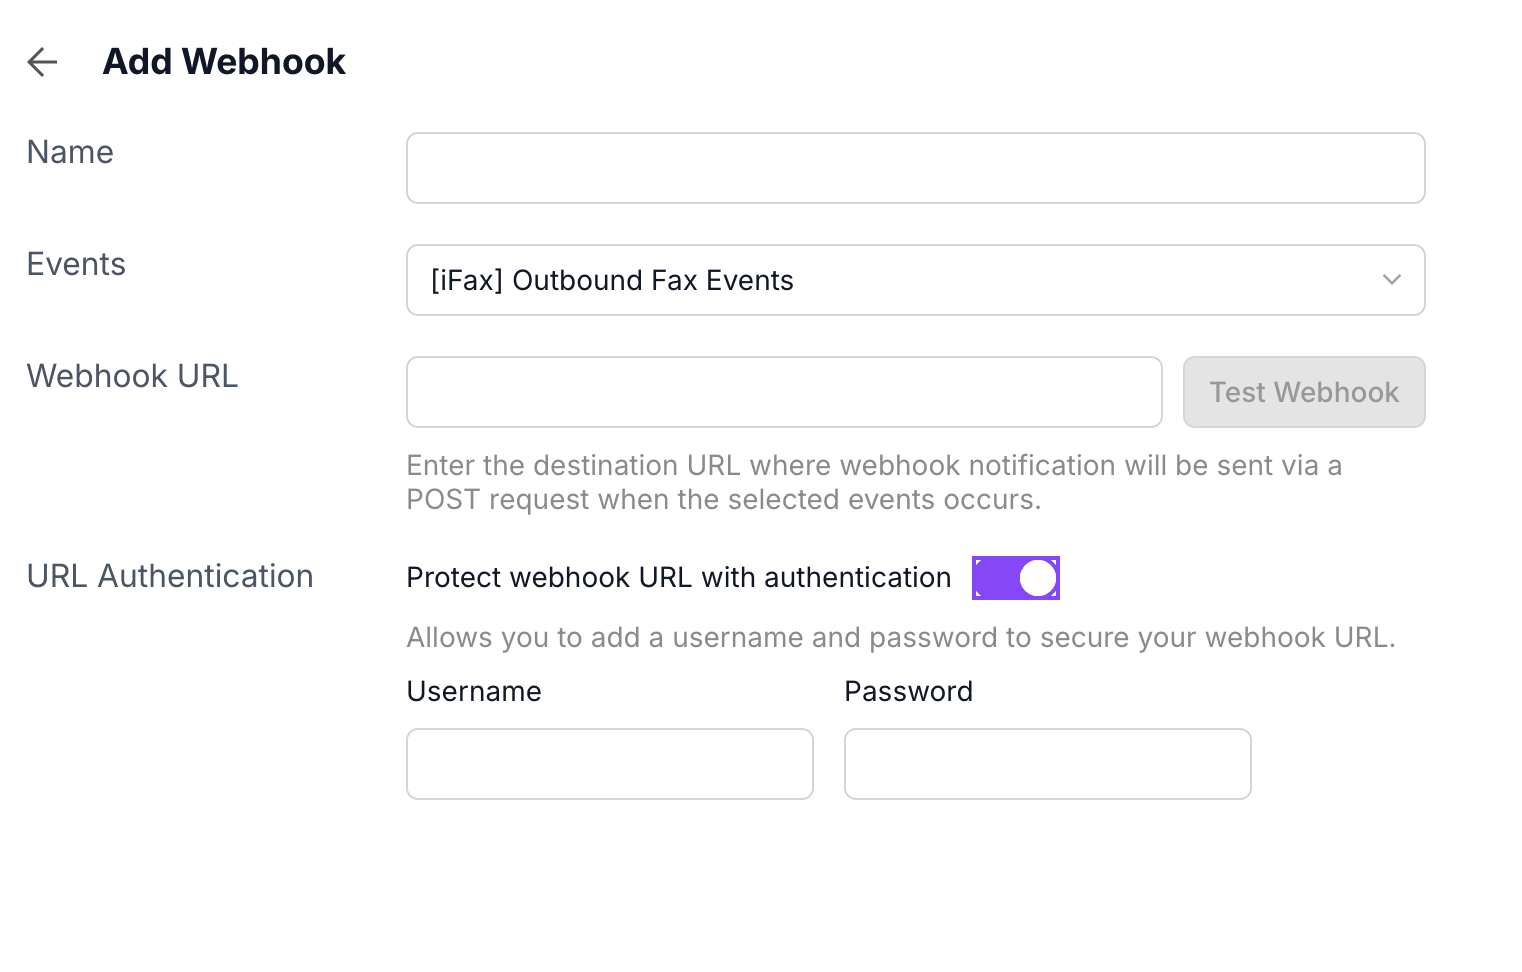
7
Test the endpoint
Click Test Webhook before saving. Amplify sends a sample event payload to the destination URL.The test payload uses placeholder identifiers and phone numbers. 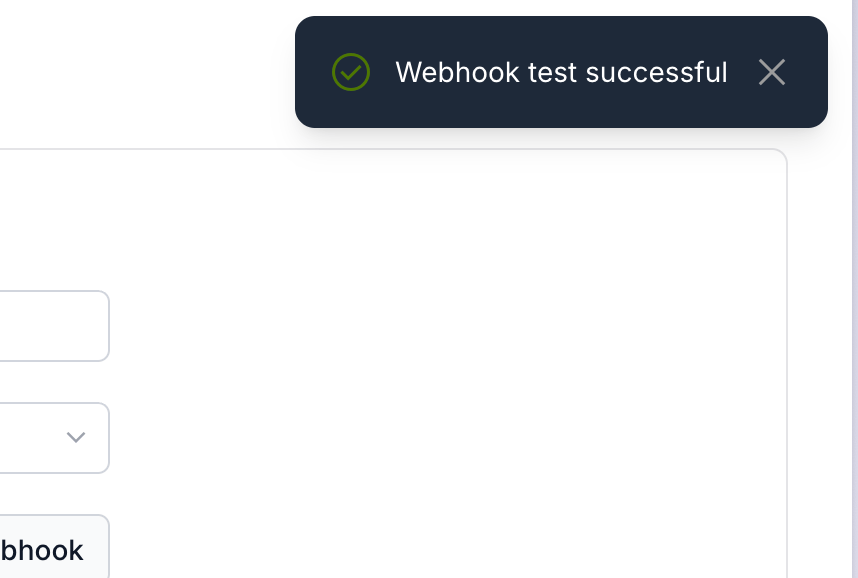
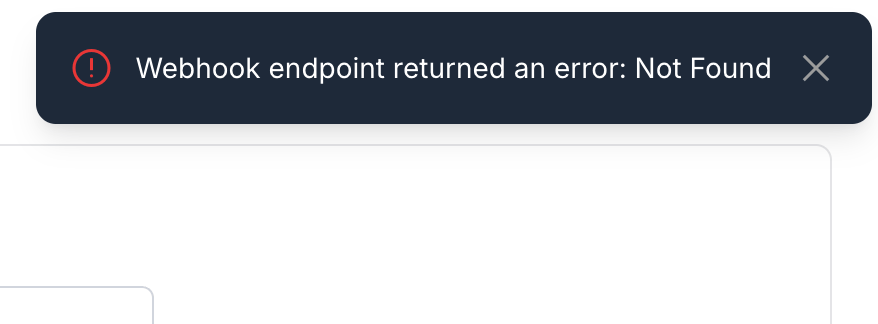
occurred_at, transmission_start, and transmission_end use ISO 8601 UTC strings.A successful request displays Webhook test successful in the upper-right corner.404 response displays Webhook endpoint returned an error: Not Found.8
Save the webhook
Click Save. Amplify returns to the Webhooks tab and adds the webhook to the list.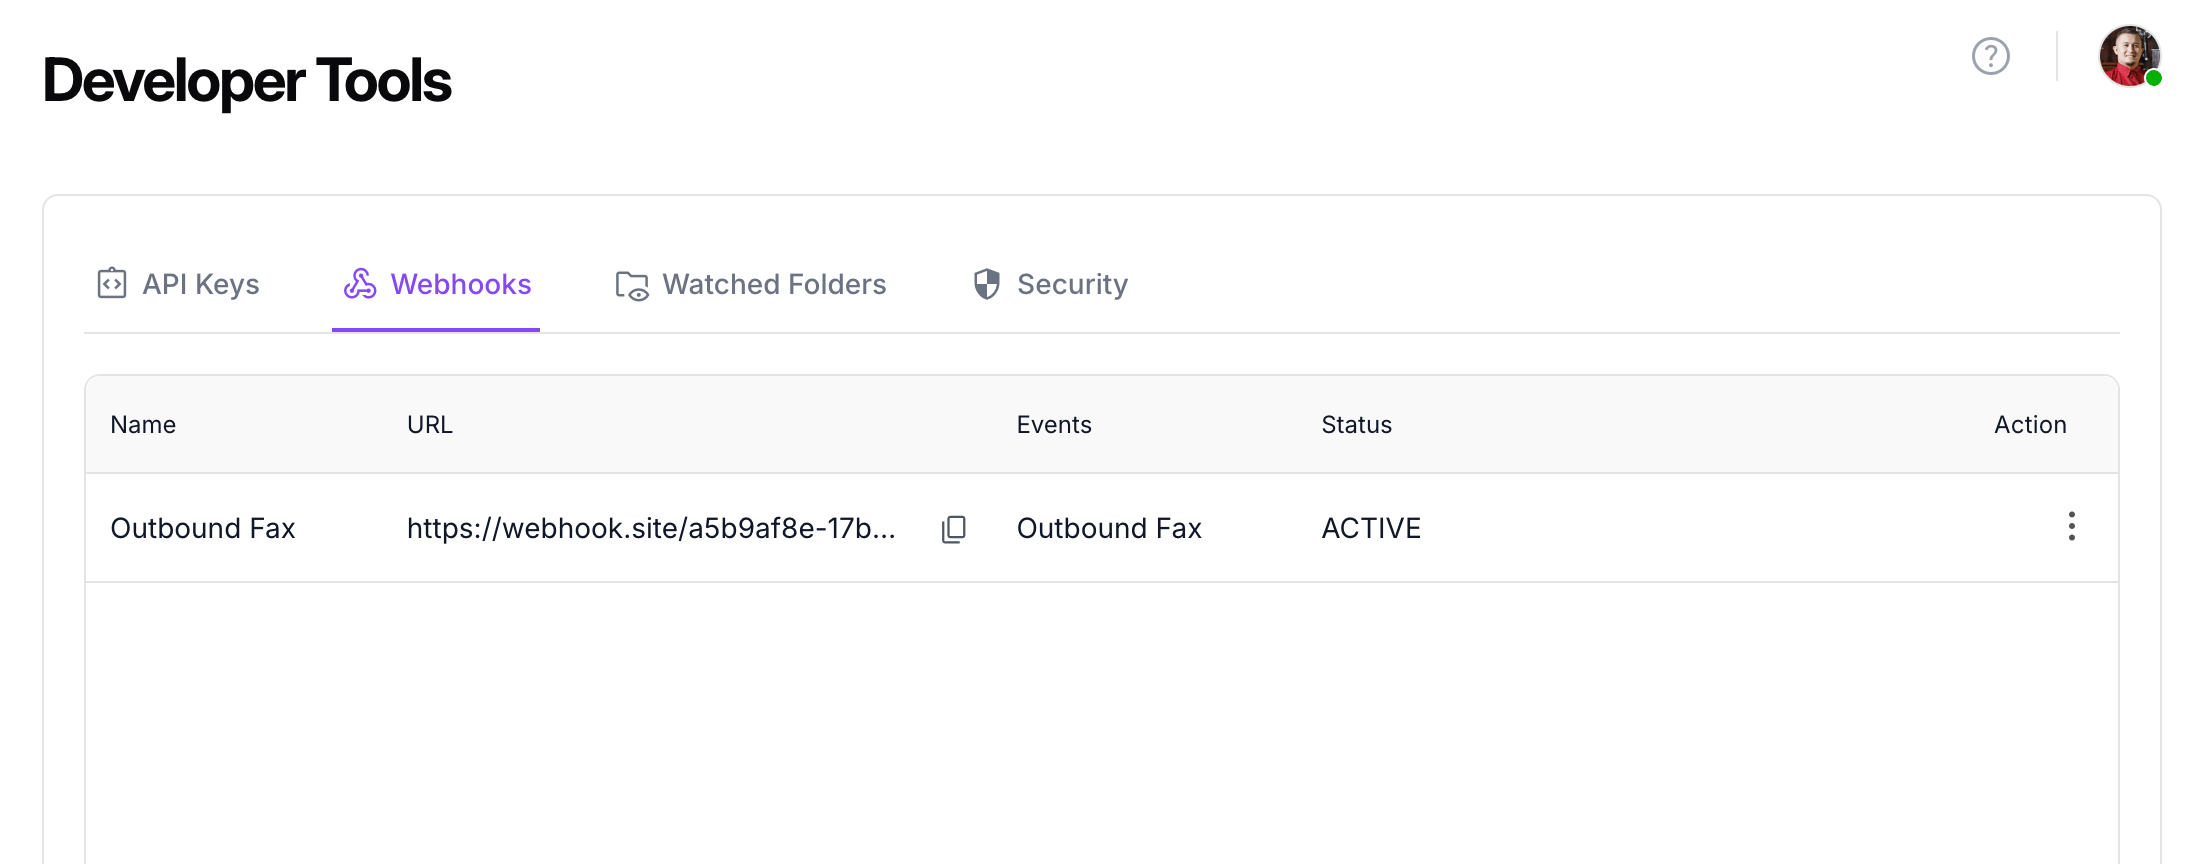
Review saved webhooks
The webhook list displays:- Name
- URL, with a copy control
- Events
- Status
- Action menu
Next steps
- Review the webhook event payload.
- Learn how to protect webhook endpoints.
- Design your consumer for retry behavior.